Bootstrap Header Styles
Introduction
Just as within printed documentations the header is just one of the very critical components of the website pages we set up and receive to utilize regularly. It safely keeps one of the most critical information on the identity of the company or else individual responsible for the page in itself and the essence of the whole internet site-- its own navigating construction which in turn in addition to the Bootstrap Header Design itself must be thought and create in this sort of method that a website visitor in a hurry or not actually knowing what way to head to simply take a quick look at as well as locate the wanted information. This is the preferred instance-- in the real world making as close as achievable to this appearance and disruptive behavior also goes on given that we pretty much every time have some project particular limits to consider. Furthermore in contrast to the written paperworks on the planet of internet we should really always remember the diversity of possible devices on which our web pages could actually get displayed-- we should really make sure their responsive activity or to puts it simply-- ensure that they will reveal top at any display screen size attainable.
And so why don't we have a glance and see the way a navbar gets produced in Bootstrap 4. ( read this)
Effective ways to make use of the Bootstrap Header Design:
First for you to create a web page header or else considering that it gets knowned as in the framework-- a navbar-- we have to wrap the entire thing inside a
<nav>.navbar.navbar-toggleable- ~ screen size ~.bg-*.navbar-light.navbar-lightWithin of this parent component we need to start by putting a tab component that shall be used to reveal the collapsed material on a smaller sized display screen dimensions-- to complete that make a
<button>.navbar-toggler.navbar-toggler-left.navbar-toggler-righttype = " button "data-toggle ="collapse"data-target = " ~ the collapse element ID ~What is truly bright new for current alpha 6 release of the Bootstrap 4 framework is that inside the
.navbar-togler<span>.navbar-toggler-icon<a>.navbar-brand<div class="img"><img></div>Now-- the main component-- developing the collapsible container for the main internet site navigation-- to do it make an element using the
.collapse.navbar-collapseid =" ~ same as navbar toggler data-target ~ ".collapse<ul>.navbar-nav<ul><li>.nav-item<a>.nav-link.nav-item.nav-link.nav-item.dropdown<li>.dropdown-toggle.nav-link.nav-item<div>.dropdown-menu.dropdown-itemFor example of menu headers
Bring in a header to label segments of activities into any dropdown menu.
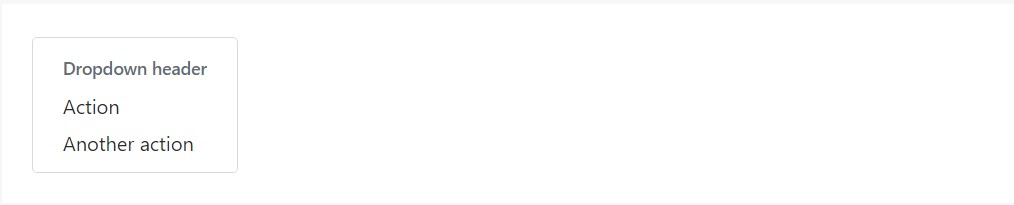
<div class="dropdown-menu">
  <h6 class="dropdown-header">Dropdown header</h6>
  <a class="dropdown-item" href="#">Action</a>
  <a class="dropdown-item" href="#">Another action</a>
</div>
Additional solutions
One more new thing for this edition is the option to set an inline forms in your
.navbar.form-inline<span>.navbar-textFinal thoughts
When it comes down to the header components in current Bootstrap 4 edition this is being dealt with with the included Collapse plugin and various site navigation special web content classes-- a couple of them produced particularly for maintaining your brand's identification and various other-- to make sure the real webpage navigational structure will show best collapsing in a mobile design menu when a indicated viewport size is reached.
Review several video clip training relating to Bootstrap Header
Linked topics:
Bootstrap Header: authoritative records

Bootstrap Header information
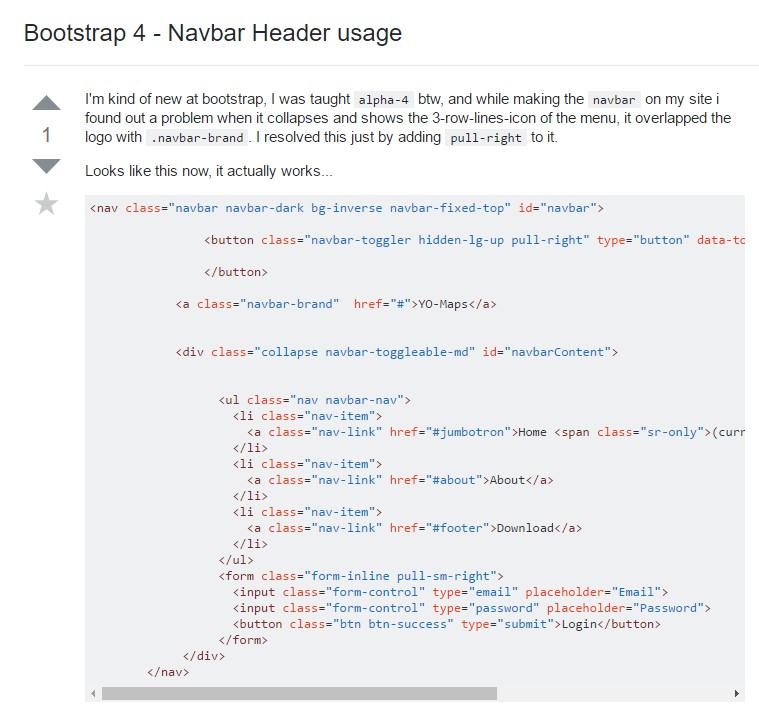
Bootstrap 4 - Navbar Header utilisation